WordPress Blocks
TheBooking provides custom blocks that integrate with the WordPress block editor, allowing you to easily add and configure booking widgets within your pages or posts. This section will guide you through the process of inserting the booking widget using WordPress Blocks and configuring its settings to suit your needs.
Step 1: Adding the Booking Widget Block
Create or edit the page or post where you want to display the booking widget.
Click on the "+" button to add a new block.
Search for the plugin's blocks by typing TheBooking in the block search field or navigate to the Booking Tools category.
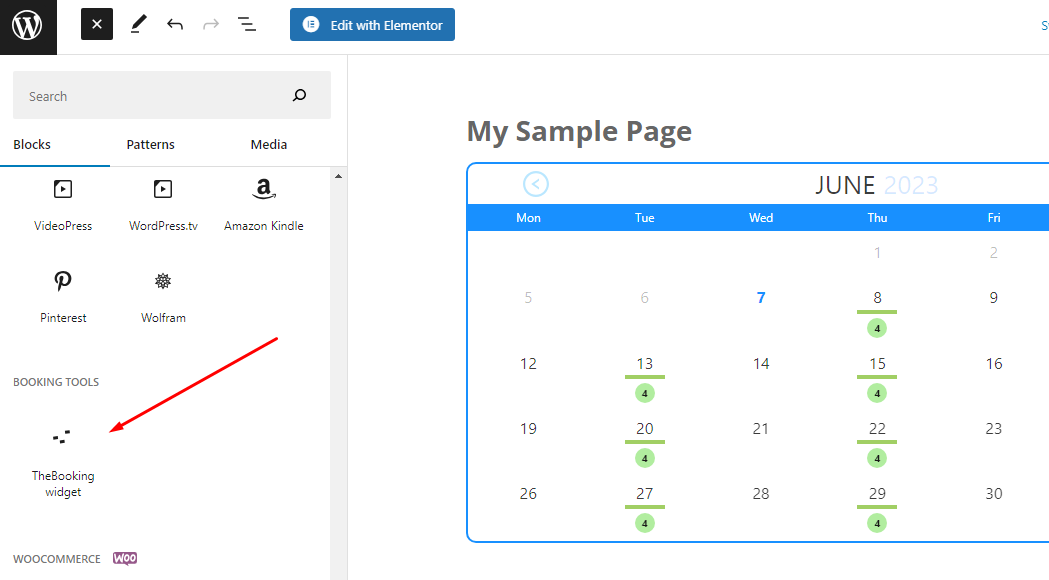
Select the booking widget block.
Step 2: Configuring the Widget Settings
Once you have added the booking widget block, you can configure its settings to customize its appearance and functionality.
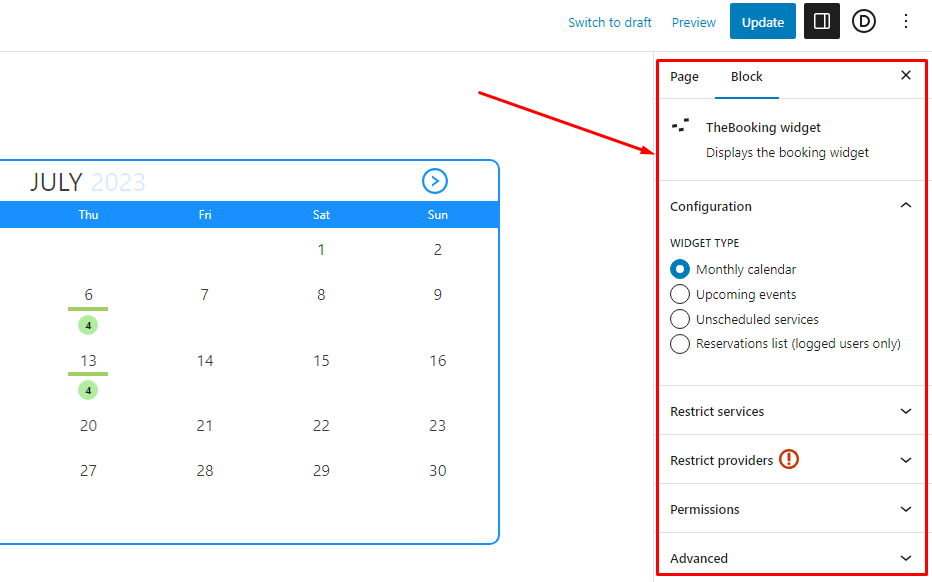
Widget Type
The Widget Type setting allows you to choose the type of widget to display on your website. You can select from the following options:
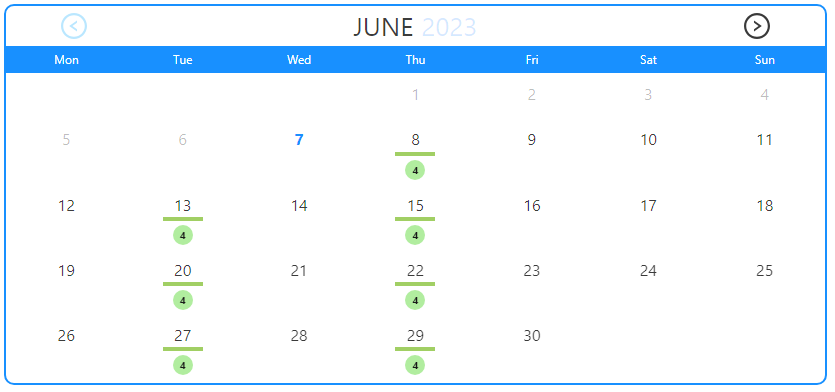
Monthly Calendar: This widget type displays an interactive monthly calendar, allowing your customers to select a specific date for making a booking. It is particularly useful for businesses that operate on specific dates and times for their services.
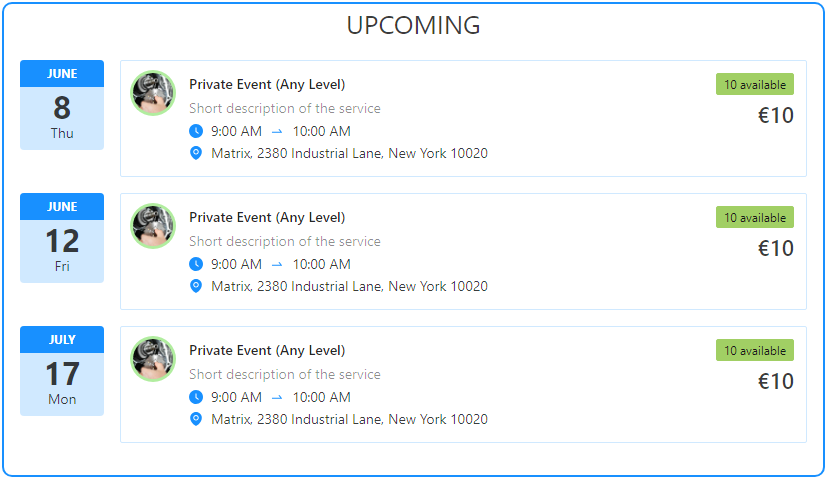
Upcoming Events: This widget type shows a list of upcoming events available for booking. It is suitable for businesses that offer special events or activities on specific dates. Customers can quickly view the upcoming events and book the ones they are interested in.
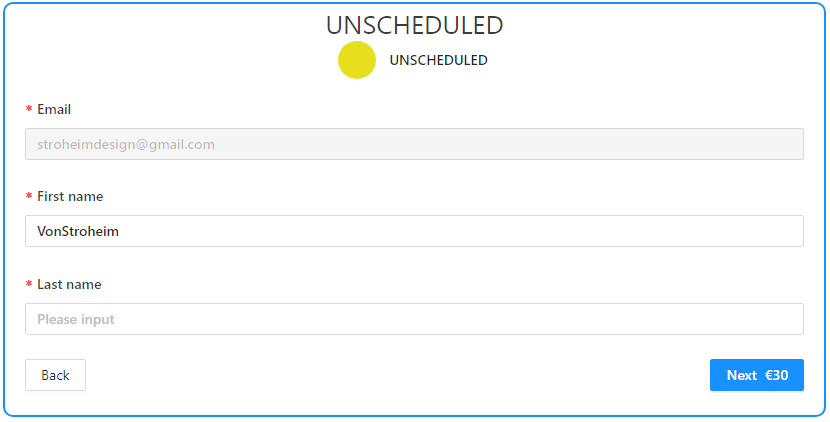
Unscheduled Services: This widget type provides a generic booking form for services that do not require a specific time slot, such as support requests or phone consultations. Customers can fill out the form by providing the necessary details for the service request.
Reservations List (Logged Users Only): This widget type displays a list of reservations made by logged-in users. It is useful if you want to provide your customers with the ability to view and manage their bookings.
Choose the widget type that best suits your needs and the type of service you offer. You can always modify this setting based on your evolving requirements.
Step 3: Previewing and Publishing
After configuring the widget settings, you can preview the widget to ensure it appears as desired. Use the block editor's preview feature to see how the widget will look on the frontend.
Once you are satisfied with the configuration, click the Publish or Update button to make the changes live on your website. The booking widget will now be displayed on the selected page or post.